Creating your own gymnastic rings can be a rewarding venture that provides you with the necessary equipment to elevate your fitness journey. These rings are not only versatile but also allow you to engage in a wide range of exercises that improve strength, flexibility, and overall physical health. From muscle-ups to dips, the range of potential workouts is vast. Furthermore, the satisfaction of making your own equipment is unparalleled. In this informative guide, we will explore how to construct your own rings, the materials required, and the overall benefits of utilizing gymnastic rings in your training regimen.
Understanding Gymnastic Rings
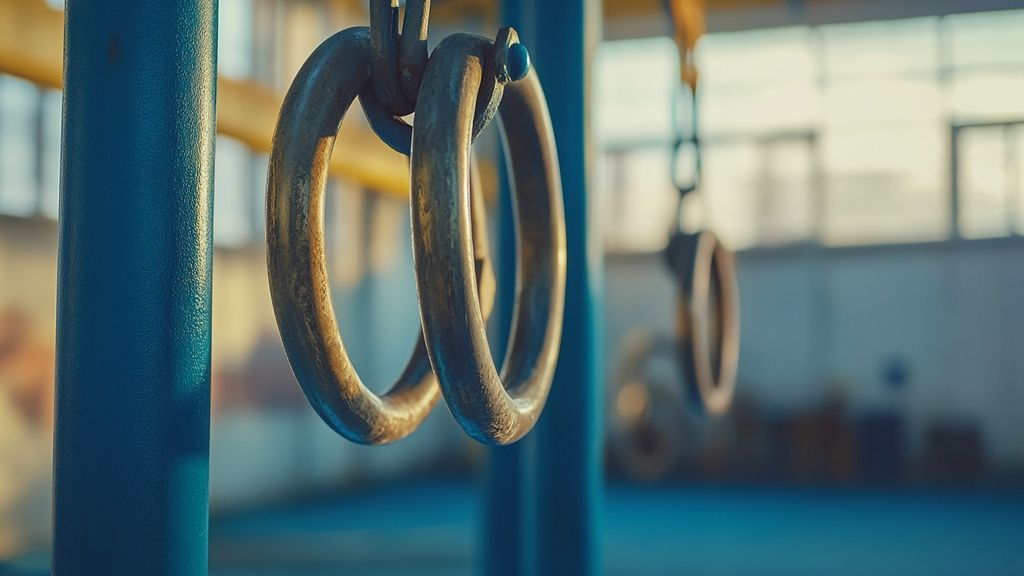
Gymnastic rings have been popularized in both Olympic gymnastics and CrossFit communities. They offer a unique challenge compared to traditional gym equipment. While using standard weights can indeed build muscle, working with rings requires stabilization and control which engages more muscles and enhances core strength. The opportunity to perform exercises such as ring push-ups and ring rows translates into functional strength that is useful in daily activities.
What Makes Gymnastic Rings Unique?
Sanctioned by various fitness disciplines, gymnastic rings offer several distinct advantages:
- Versatility: Rings can be used for a variety of exercises targeting different muscle groups.
- Improved Strength: Engaging multiple muscle groups aids in higher strength output.
- Core Engagement: To maintain balance and control, your core strengthens significantly.
- Joint Health: A natural range of motion prevents stiffness and injuries.
Materials Needed for Your Rings
Before diving into the construction process, it’s crucial to gather the right materials. For creating sturdy and effective gymnastic rings, you will need:
- 2 lengths of 1-inch PVC pipes, each about 24 inches long
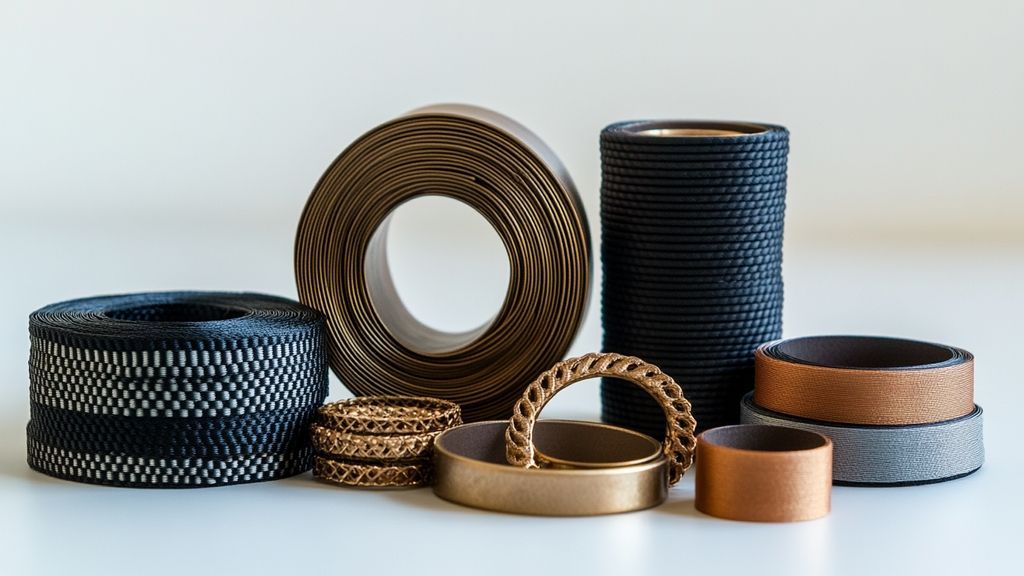
- 1 roll of strong nylon strapping (about 25 feet)
- 2 sturdy carabiners
- Sand or other weighting material
- Duct tape
Choosing the Right PVC Pipes
When selecting PVC pipes, make sure to choose a durable type that can withstand multiple uses. The diameter of 1 inch is generally optimal for grip and control. Ensuring they are not flimsy will help in maintaining safety while performing dynamic movements. Additionally, you can find nylon strapping that’s both strong and adjustable to suit different workout needs.
Constructing Your Rings
Now that you have gathered the materials, let’s discuss the steps to construct your gymnastic rings.
Step 1: Design the Rings
Start by cutting the PVC pipes into lengths of approximately 24 inches. This will form the main body of your rings. Ensure all cuts are clean to avoid any rough edges that could result in injury while using the rings.
Step 2: Weight the Rings
It’s essential to fill the PVC pipes with sand to give your rings some weight. This prevents them from moving during exercises. Fill the pipes halfway with sand, then cap both ends securely using duct tape.
Step 3: Attach Strapping
Next, attach your nylon strapping to the rings. Cut two lengths of strapping long enough to hang from your chosen training setup. Secure the ends to each ring using extra duct tape for added strength.
Step 4: Final Assembly
Finally, attach carabiners to the ends of the strapping, allowing for easy attachment to your chosen setup. Make sure all fixtures are secure before testing the rings.
Testing Your Gymnastic Rings
After completing the assembly of your gymnastic rings, it’s time to test their sturdiness and reliability. Start with simple static holds to ensure that everything remains in place. You can gradually incorporate dynamic exercises to put the rings to their intended use.
Common Exercises to Perform
Consider starting with exercises that do not require a great deal of strength, such as:
- Ring Holds: Build overall body control and establish a solid base.
- Ring Push-Ups: Variants of traditional push-ups that focus on stability.
- Ring Rows: Great for building back and shoulder strength.
Where to Use Your Rings
The flexibility of gymnastic rings allows you to use them virtually anywhere. Whether it’s in your backyard, at a local park, or inside your home, the ability to hang them from any sturdy beam or tree branch presents various opportunities for functional training.
Setting Up Indoor Spaces
If you prefer indoor workouts, consider purchasing an adjustable pull-up bar or suspending your rings from a ceiling beam. This allows you to engage in a consistent training regimen regardless of the weather outside.
Benefits of Using Gymnastic Rings
The benefits that gymnastic rings provide are invaluable to anyone looking to diversify their training routine and improve overall physical fitness:
- Functional Fitness: Gymnastic rings teach your body how to move in real-world situations.
- Enhanced Grip Strength: Training with rings naturally improves grip strength.
- Improved Balance: Each movement challenges balance and coordination.
- Cost-Effective Option: Homemade rings bring significant savings compared to name-brand products.
Long-Term Benefits
Regularly incorporating gymnastic rings into your workouts can result in noticeable improvements over time. You may find an increase in muscular endurance, better posture, and enhanced athletic performance across various disciplines. Furthermore, as you progress, you can explore advanced movements that keep you engaged and challenged.